Why Does Water Get in My Kayak? 6 Quick Tips to Keep It Out
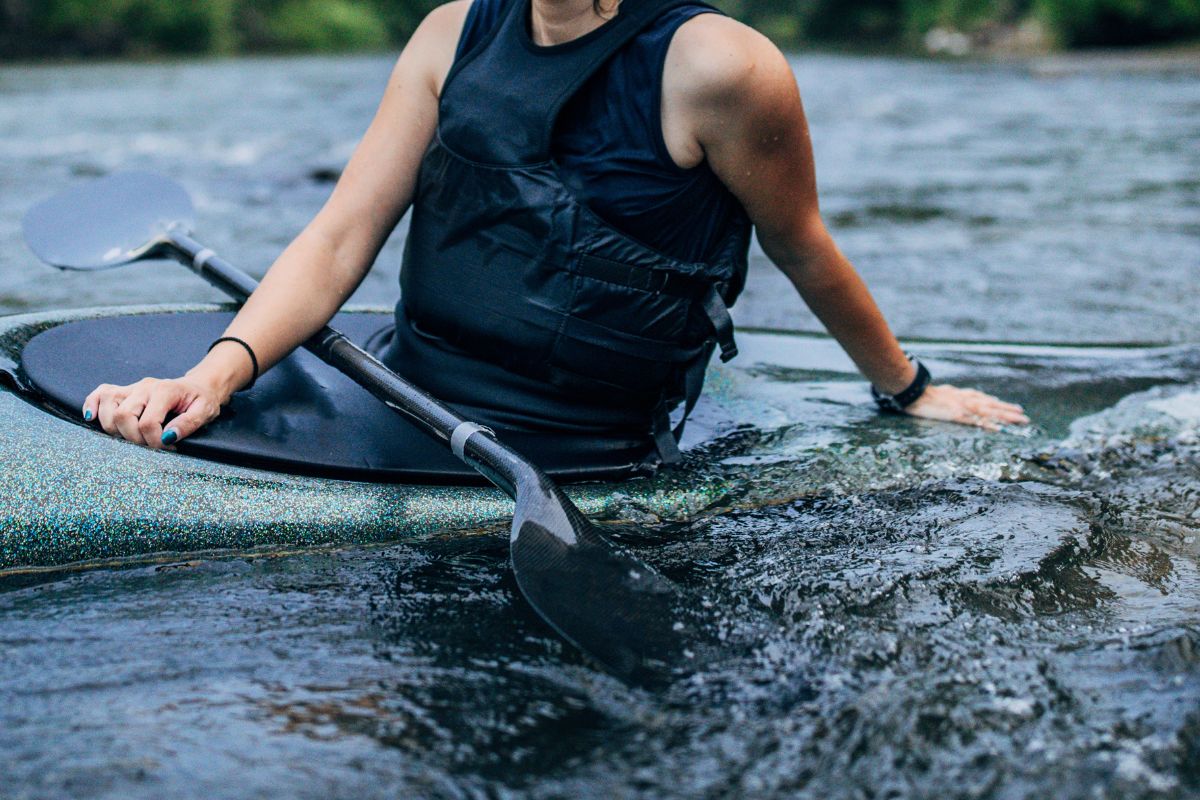
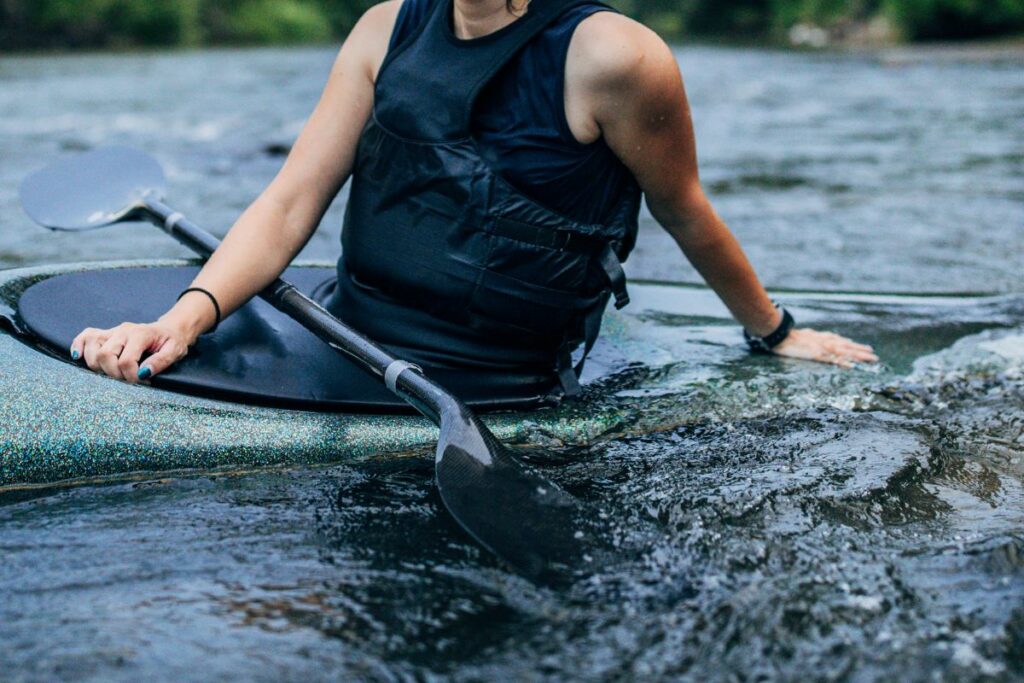
You know this feeling when you are having a really nice day kayaking around when you suddenly feel the water at your feet? You throw it out, and then, a few minutes later, you find even more water has found its way into the kayak again.
We’ve all been there.
One of the biggest challenges faced while kayaking is water getting inside. Even the most experienced kayakers wonder, “why does water get in my kayak?”
Water can get in your kayak because of waves, splashing, rain, or leaks. To prevent this, ensure you have a tight seal on the hatches and cockpit, avoid overloading, and use proper paddling techniques. It’s also recommended to carry a bilge pump or sponge to remove any water that has entered.
Keep reading to learn more about why water gets in your kayak and how to prevent that.
Table of Contents
Why Does Water Get In My Kayak?
There are several reasons why water can get inside a kayak. Some of the common reasons include the following:
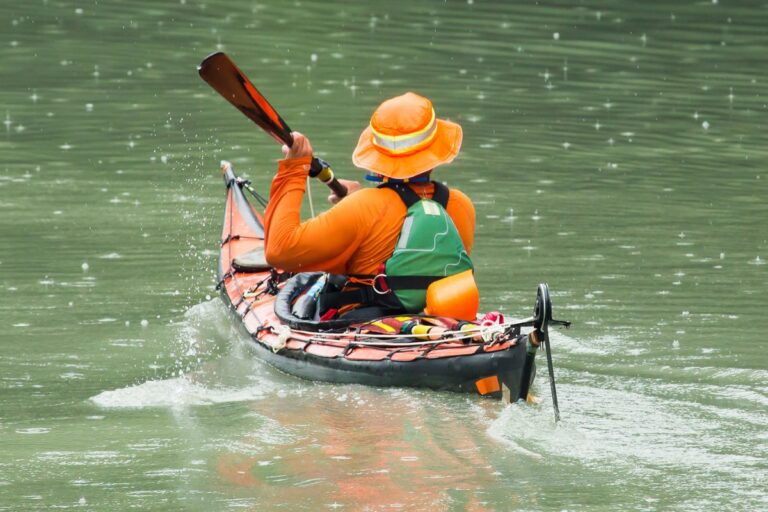
- Waves: When you paddle in choppy waters or rough conditions, waves can come over the bow or sides of the kayak, causing water to enter.
- Splashing: Similarly, splashing caused by your paddling motion can also result in water getting inside the kayak.
- Rain: Kayaking in the rain can also result in water entering your kayak through the cockpit or hatch covers. Even light rain can accumulate and add weight to your kayak.
- Leaks: Damage to the hull, such as cracks or holes, can cause water to leak into the kayak. Similarly, damaged hatch covers or cockpit seals can also result in water entering the kayak.
- Improper Loading: Overloading the kayak with too much weight or unevenly distributed weight can cause the kayak to become unstable and take on water.
Regardless of where the water is coming from, it’s important to prevent even the smallest amounts of water from getting in the kayak and accumulating, as this can negatively affect your kayaking experience.
Is It Dangerous If Water Gets In the Kayak?
While a small amount of water in a kayak is generally not dangerous, excessive water can affect the kayak’s stability and potentially create unsafe conditions.
When water gets inside a kayak, it adds weight and can cause the kayak to become more difficult to maneuver.
This can make it harder to paddle and potentially cause the kayak to capsize. Additionally, water inside the kayak can make it uncomfortable and create a slippery surface, increasing the risk of injury.
If water accumulates in the kayak, it can become overloaded, creating a potentially dangerous situation. However, the kayak will not sink as most kayaks are designed with enough buoyancy to stay afloat even if they are filled with water,
It’s still important to promptly remove any water that enters the kayak and take steps to prevent water from entering in the first place.
Does Water Get In Sit-On-top Kayaks More Than Sit-Inside Kayaks?

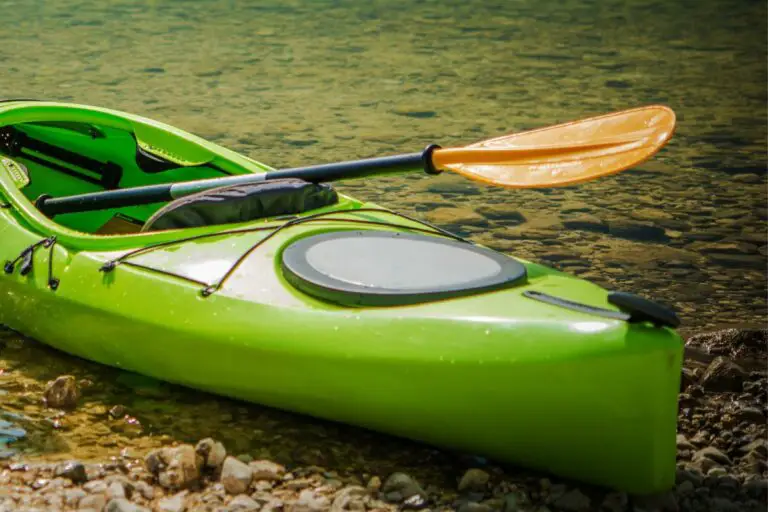
Sit-on-top kayaks are more prone to water entering the cockpit area compared to sit-inside kayaks. This is because sit-on-top kayaks have an open design that allows water to splash or wash over the top and into the cockpit more easily.
However, sit-on-top kayaks also have scupper holes, allowing water to drain out of the cockpit area quickly, reducing the amount of water accumulating inside the kayak.
On the other hand, sit-inside kayaks have a closed design that provides more protection against water entering the cockpit area, but they may also have small gaps or openings that can allow water to seep into the kayak.
In general, both types of kayaks can experience water entering the cockpit area, and it’s important to take steps to prevent and manage this water.
Do You Need to Keep Water Out of the Kayak?
While water entering a kayak is not necessarily dangerous, it can create unsafe conditions if not managed properly. So, it is generally recommended to keep water out of the kayak as much as possible to ensure a safe and comfortable paddling experience.
To help you further, we’ll take a closer look at how you can prevent water from entering your kayak, how to quickly remove any water that has entered, and how to check your kayak for damage that might be causing leaks.
How to Prevent Water from Getting in the Kayak?
Here are some ways to prevent water from entering the kayak:
- Properly seal hatches and cockpit covers: Ensure that all hatches and cockpit covers are properly sealed before launching the kayak. Check for any gaps or openings that may allow water to seep in and make any necessary repairs.
- Use a spray skirt: If you’re paddling a sit-inside kayak, using a spray skirt can help prevent water from entering the cockpit area.
- Use scupper plugs: If you’re paddling a sit-on-top kayak, using scupper plugs can help prevent water from entering through the scupper holes.
- Stay away from waves: Avoid paddling in rough or choppy waters if possible, as waves can cause water to splash over the kayak and enter the cockpit area.
- Avoid Overloading: Weight distribution in the kayak affects how much water can enter. So, try to keep the weight evenly distributed and avoid overloading the kayak.
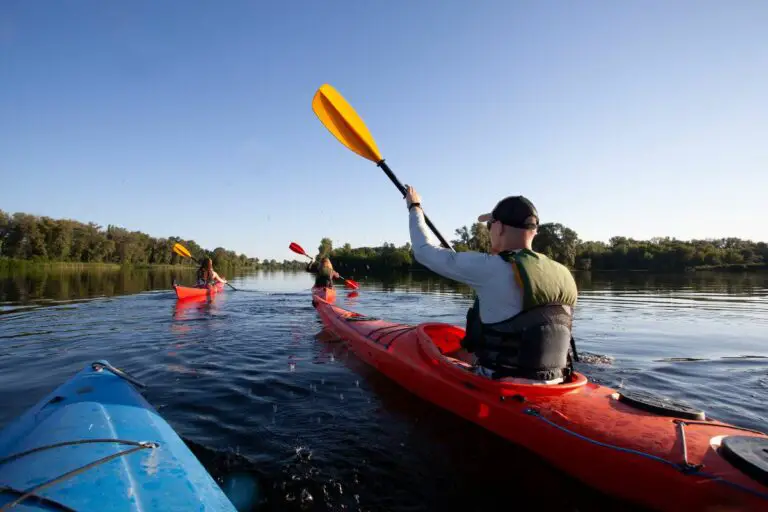
- Use proper paddling technique: Proper paddling technique can help minimize splashing and prevent water from entering the kayak. So, try to keep your paddle close to the water and use smooth, controlled strokes.
How to Remove Water from the Kayak?
Here are some ways to remove water that has entered the kayak:
- Use a bilge pump: A bilge pump is a hand-held device that can be used to pump water out of the kayak. Simply insert the pump into the water and pump the handle up and down to remove the water.
- Use a sponge: A sponge can be used to soak up water that has entered the kayak. Simply wring out the sponge into a bucket or over the side of the kayak to remove the water.
- Tip the kayak: If the water is only in one area of the kayak, tipping the kayak to one side can allow the water to drain out of the scupper holes or cockpit area.
- Beach the kayak: If you’re near a beach, you can pull the kayak onto the shore and tilt it to allow the water to drain out.
- Use your body weight: If you’re paddling a sit-on-top kayak, you can shift your body weight to one side to allow the water to drain out of the scupper holes.
How to Check Your Kayak for Damage or Leaks?
Here are some steps to check your kayak for damages or leaks:
- Clean the kayak: Before inspecting the kayak, thoroughly clean it to remove any dirt or debris that may be covering potential damage or leaks.
- Inspect the exterior: Carefully inspect the exterior of the kayak, looking for any cracks, punctures, or other signs of damage. Pay particular attention to areas that may be prone to impact, such as the bow or stern.
- Inspect the interior: If you’re paddling a sit-inside kayak, inspect the interior of the cockpit area for any signs of damage or wear. Look for cracks or deformities in the plastic or fiberglass.
- Check the fittings: Check all fittings, such as hatch covers, deck lines, and bungee cords, to make sure they are securely attached and in good condition.
- Fill the kayak with water: To check for leaks, fill the kayak with water and let it sit for a few hours. Inspect the exterior and interior of the kayak for any signs of water seeping through.
- Perform a water test: Alternatively, you can perform a water test by filling the kayak with water and then turning it over to see if any water leaks out. This can help identify any areas of damage or weakness in the kayak.
If you find any damage or leaks, make any necessary repairs before paddling the kayak to ensure your safety and longevity.
Kayak your way to Freedom
- On a budget? Check out the best fishing kayaks under $500 here and the best Fishing Kayaks under $1,000 here. Or Check the best Cheap Kayaks here.
- Going fishing? Here are the best Ocean fishing kayaks, and here are the best River Fishing Kayaks.
- You can also find the best Fly Fishing Kayaks here and the best Bass Fishing Boats here.
- A bit experienced? Check out the best modular kayaks here and the best tandem fishing kayaks here.
- Looking for something special? Check out my favorite Ducky kayaks here.
- Navigate your way with these awesome and beginner-friendly Kayak compasses.
- Going Hunting? These Duck hunting kayaks will give you an unfair advantage!
- Have a need for speed? These motorized kayaks will get you moving.
- Protect yourself from the sun with these Kayak shades, and make your kayak more comfortable with these Kayak seats.
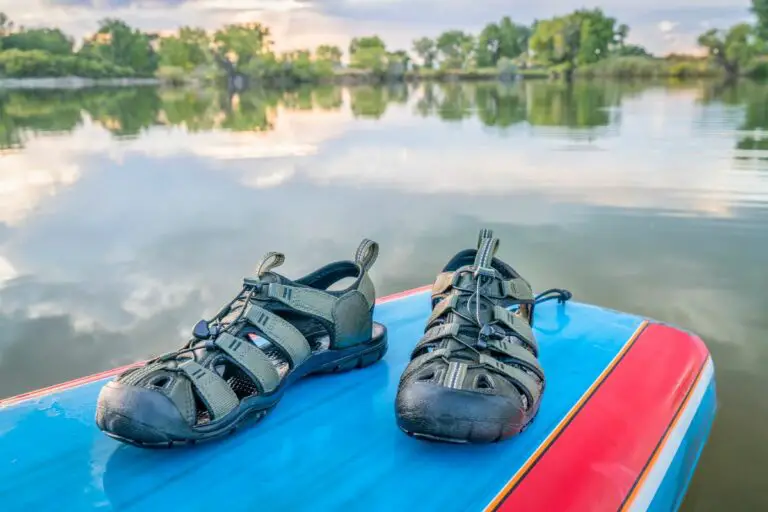
- Keep your feet dry and warm with these superb Kayaking shoes.
- Going Kayaking in cold water? Stay warm with these Kayaking gloves.
- Paddle Less, Fish More with the Best Kayak Motors
- Looking to get a trolling motor on your kayak? Check out the best kayak trolling motor mounts here.
If you like this article, please share it or pin it, you can find the share buttons below. We will really appreciate it ❤️