Where to Place A Skeg on A Kayak? A Step-By-Step Guide
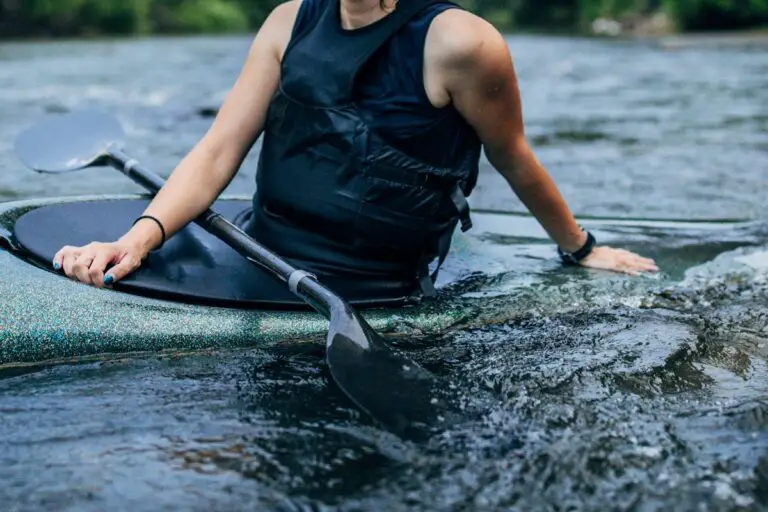
Whether you’re paddling through calm waters or navigating rough rapids, having control over your kayak is essential for a safe and enjoyable experience.
One factor that can greatly affect your kayak’s tracking is whether you’re using a skeg and where the skeg is placed. So, where to place a skeg on a kayak?
A skeg on a kayak should be placed at the center of the rear near the stern, as this provides the most stability and reduces the chances of the kayak veering off-course. This positioning also helps to counteract wind and currents, making paddling easier and more efficient.
Keep reading to learn more about kayak skegs and how to properly add a skeg to your kayak.
Table of Contents
What Is A Kayak Skeg?
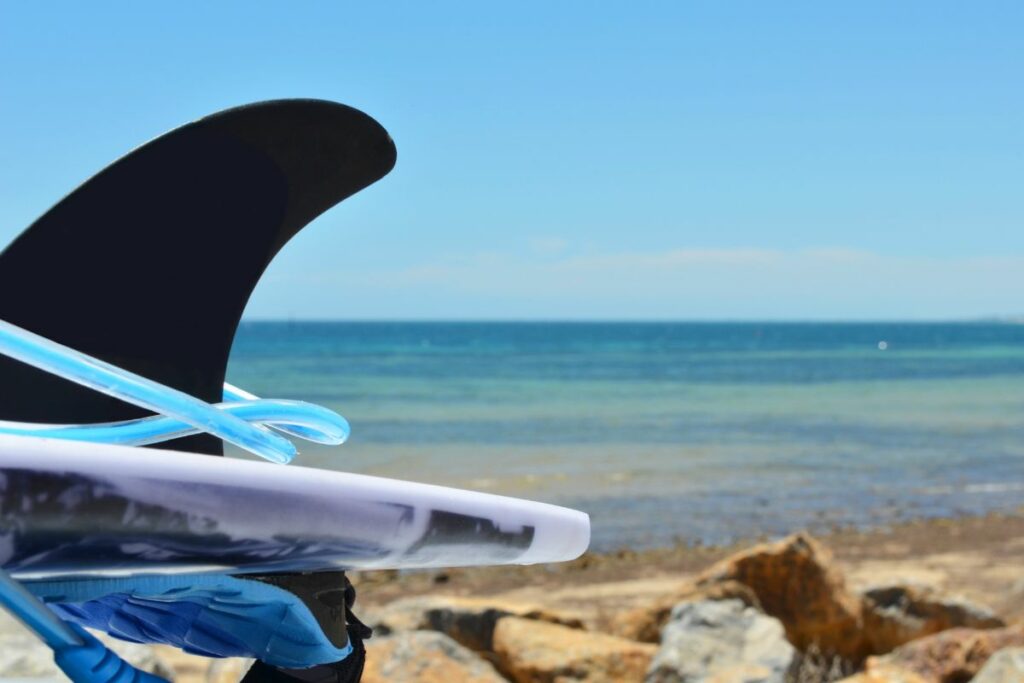
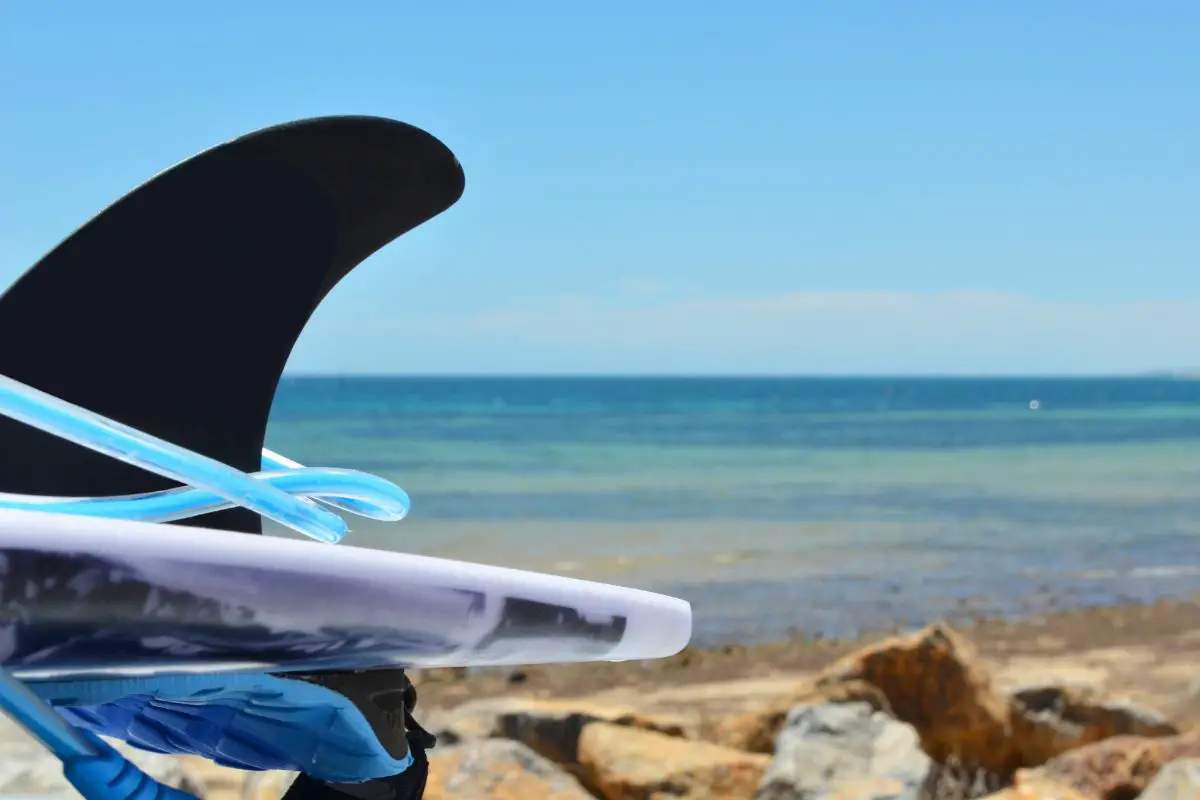
A kayak skeg is a fin-like device that is attached to the bottom of a kayak. It is used to provide stability and keep the kayak on the course, especially in windy or choppy conditions.
When the kayak is moving forward, the skeg helps to counteract the effects of wind and currents, preventing the kayak from veering off-course. This makes paddling easier and more efficient, as you won’t have to constantly correct the kayak’s direction.
Overall, a kayak skeg is an essential tool for any paddler who wants to maintain stability and control on the water.
By understanding the basics of skeg design and placement, paddlers can choose the right type of skeg for their kayak and enjoy a more comfortable and efficient paddling experience.
Factors to Consider When Choosing A skeg
Here are some factors to consider when choosing a kayak skeg:
- Kayak design and intended use: The type of skeg you choose should be compatible with your kayak’s design and intended use, as some skegs are designed for specific types of kayaks, such as touring or recreational kayaks.
- Material: Kayak skegs can be made of different materials, including plastic, fiberglass, and metal, so make sure to choose a material that is appropriate for your needs and budget.
- Plastic skegs are lightweight and durable, while fiberglass and metal skegs are sturdier but may add extra weight to your kayak.
- Fixed vs. retractable: Fixed skegs, also known as tracking fins, are permanently attached to the kayak and cannot be removed or adjusted, while retractable skegs can be raised or lowered as needed. Retractable skegs are generally more versatile but may require more installation time and effort.
- Size and shape: The size and shape of the skeg should be appropriate for your kayak’s design and intended use.
- Larger skegs provide more stability but can be harder to turn, while smaller skegs offer more maneuverability but may not be as effective in choppy conditions.
- Some skegs are also designed with a curved shape, which can help to minimize drag and improve overall performance.
If you’re not sure which skeg to choose, I recommend this VGEBY Kayak Skeg on Amazon. It’s made from durable PVC materials and can be easily installed without needing to use any tools.
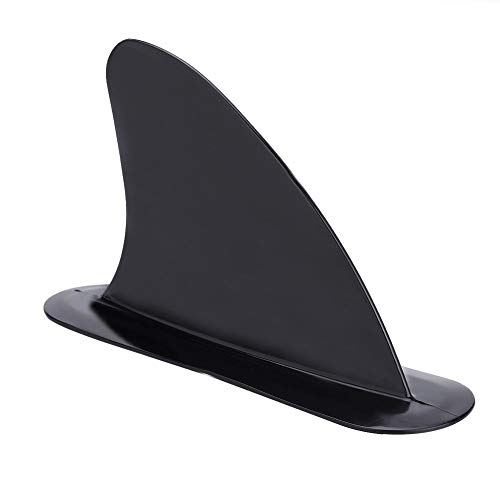
Improve your kayaking experience with the VGEBY Kayak Tracking Fin. Its streamlined design and easy installation make it an essential accessory for any kayaker looking for better stability and control on the water.
Skeg Vs. Rudder
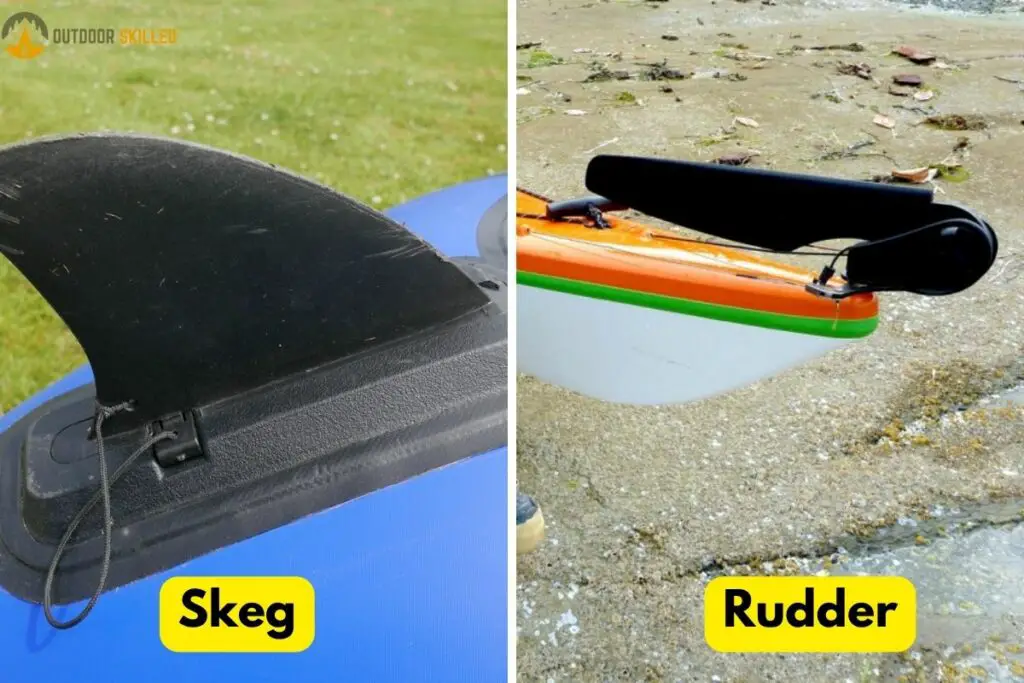
Both skegs and rudders are used to help steer a kayak, but they work in different ways.
As mentioned before, a skeg is a fixed or retractable fin that is attached to the underside of a kayak’s hull. The paddler can adjust the amount of stability and maneuverability by raising or lowering the skeg.
A rudder, on the other hand, is a movable blade that is attached to the stern of the kayak. It can be turned left or right using foot pedals or hand control, allowing the paddler to steer the kayak more directly.
In general, skegs are simpler and more intuitive to use than rudders. They require less maintenance and are less prone to damage or malfunction. However, rudders are typically used in more advanced kayaks or in rough water conditions, where precise steering is necessary.
Ultimately, the choice between a skeg and a rudder comes down to personal preference and the type of kayaking you plan to do.
Where to Place A Skeg on A Kayak?
Where you place the skeg on your kayak is important for optimal performance.
Generally, the best placement for a skeg on a kayak is at the rear of the boat, near the stern. This placement helps to counteract wind and currents, providing stability and reducing the chances of the kayak veering off-course.
However, the exact positioning can vary based on the kayak’s design and intended use. Some kayaks are designed with skeg boxes, which are pre-built compartments that are specifically designed to hold a skeg. In other cases, the skeg may need to be installed separately.
How to Add A Skeg to A Kayak?
Adding a skeg to a kayak can be a relatively simple process, depending on the type of kayak and the skeg system you choose to install.
Here is a step-by-step process for adding a skeg to a kayak:
- Choose a skeg system: There are a variety of skeg systems available, including fixed and retractable skegs.
- Prepare the kayak: Clean the area where the skeg will be installed to remove any dirt or debris. If the skeg will be mounted with screws, mark the drill holes and drill them to the correct size.
- Install the skeg box: If you are installing a retractable skeg, you will need to install a skeg box on the underside of the kayak. This involves cutting a hole in the kayak, installing the box, and sealing it to prevent water from entering.
- Install the skeg: If you are installing a fixed skeg, attach it to the bottom of the kayak using screws or adhesive. If you are installing a retractable skeg, slide it into the skeg box and attach the control cables to the kayak.
- Test the skeg: Once the skeg is installed, test it to make sure it is working properly. Retractable skegs should move up and down smoothly, and fixed skegs should be securely attached and provide stability to the kayak.
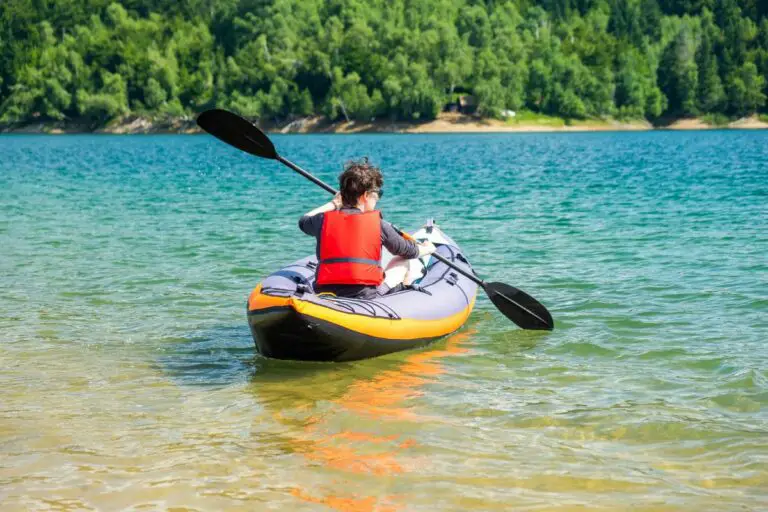
Can You Add A Skeg to An Inflatable Kayak?
Adding a skeg to an inflatable kayak is a bit different from adding one to a hard-shell kayak, but it can still be done with the right tools and techniques.
Here is a step-by-step process for adding a skeg to an inflatable kayak:
- Choose a compatible skeg: Not all skegs are compatible with inflatable kayaks, so make sure to choose one that is specifically designed for inflatable kayaks.
- These skegs are typically made of lightweight and durable materials like plastic or nylon and are designed to attach to the kayak using straps or adhesive.
- Position the skeg: Once you have the skeg, determine where it should be positioned on the kayak and use a marker to make a small dot in that area.
- Attach the skeg using straps or adhesive: If the skeg comes with straps, thread them through the attachment points on the skeg and the kayak and tighten them securely. If the skeg comes with adhesive, clean the surface of the kayak where the skeg will be attached and apply the adhesive as directed by the manufacturer.
- Test the skeg: With the skeg attached, take your inflatable kayak out on the water and test it in various conditions. Make sure the skeg is providing the desired stability and maneuverability, and adjust it as needed.
Do You Always Need to Use A Kayak Skeg?
You do not always need to use a kayak skeg.
In calm conditions, a skeg may not be necessary as the water is relatively still, and there is little to no wind. However, in windy or choppy conditions, a skeg can be very helpful in maintaining stability and keeping the kayak on course.
Additionally, some kayaks are designed to be more stable and require less use of a skeg, while others are more sensitive to wind and currents and may benefit from using a skeg more frequently.
Whether or not you need to use a skeg will depend on the conditions you are paddling in and your personal preference. If you don’t want to use a skeg, you can learn more about improving your kayak’s tracking here.
Kayak your way to Freedom
- On a budget? Check out the best fishing kayaks under $500 here and the best Fishing Kayaks under $1,000 here. Or Check the best Cheap Kayaks here.
- Going fishing? Here are the best Ocean fishing kayaks, and here are the best River Fishing Kayaks.
- You can also find the best Fly Fishing Kayaks here and the best Bass Fishing Boats here.
- A bit experienced? Check out the best modular kayaks here and the best tandem fishing kayaks here.
- Looking for something special? Check out my favorite Ducky kayaks here.
- Navigate your way with these awesome and beginner-friendly Kayak compasses.
- Going Hunting? These Duck hunting kayaks will give you an unfair advantage!
- Have a need for speed? These motorized kayaks will get you moving.
- Protect yourself from the sun with these Kayak shades, and make your kayak more comfortable with these Kayak seats.
- Keep your feet dry and warm with these superb Kayaking shoes.
- Going Kayaking in cold water? Stay warm with these Kayaking gloves.
- Paddle Less, Fish More with the Best Kayak Motors
- Looking to get a trolling motor on your kayak? Check out the best kayak trolling motor mounts here.
If you like this article, please share it or pin it, you can find the share buttons below. We will really appreciate it ❤️