Can You Patch A Plastic Kayak? 5 Patching Methods That Work
While plastic kayaks are generally durable, they can still be damaged.
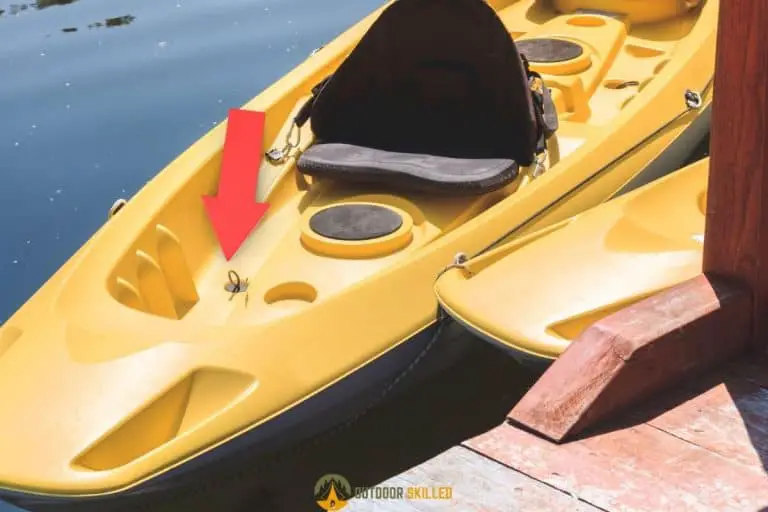
Plastic kayaks can sustain cracks, holes, and other forms of damage, whether due to rough handling, collisions with rocks or other objects, or wear and tear over time. If that damage is left untreated, it can lead to more significant problems down the line.
So, a common question among kayakers is can you patch a plastic kayak and restore it to its former glory?
You can patch a plastic kayak by applying suitable patching material to the damaged area. However, there are different patching methods, and it’s important to choose a method that’s suitable for the type and severity of damage in your kayak to ensure a durable repair.
Continue reading for a step-by-step guide on easily and effectively patching a plastic kayak.
Table of Contents
Can You Patch A Plastic Kayak?
Despite what some people say, Plastic kayaks are good kayaks. They are durable, affordable, and offer great value. Even more, they can be fixed just like other kayaks.
You can patch a plastic kayak, but keep in mind that not all plastic kayaks are created equal, and different types of plastic may require different patching materials and methods.
Regardless of the method used, it’s important to patch a kayak as soon as possible after the damage occurs. Ignoring or delaying repairs can lead to more significant problems down the line, such as water seeping into the hull or further damage to the kayak’s structure.
Additionally, while patching can fix many types of damage, it’s essential to assess the severity of the damage before attempting a repair. In some cases, it may be more cost-effective to use a different repair method or replace the kayak entirely.
An alternative way to repair a plastic kayak is using by using durable materials like fiberglass; you can learn all about how to repair a kayak with fiberglass in my guide here.
Kayak Patching Methods
Several methods can be used to patch a plastic kayak, and each method requires different patching materials. So, let’s break down these different methods in more detail:
- Cold welding: This method involves using an adhesive to bond a patch made of the same material as your kayak to the damaged area. You can learn more about using an adhesive, such as JB Weld, to repair a kayak here.
- Hot air welding: This method involves using a hot air welding gun to melt the plastic of your kayak and fuse it with a patch made of the same material, creating a seamless patch.
- Heat Gun: This method involves using a heat gun to heat the plastic of the kayak and then pushing the plastic back together to create a bond.
- Epoxy: Epoxy works as a patching material and a patching method at the same time. It can be used to fill cracks and holes or attach patches to your kayak.
- PVC or Hypalon patches: These patches are made of the same material as inflatable kayaks and can be glued or welded onto the kayak to repair tears and holes in the inflatable portion of a kayak.
When choosing a patching method, it’s important to consider the type and severity of the damage that occurred to the kayak. For example, epoxy may be the best choice if the damage is small. However, plastic welding may be necessary if the damage is more severe, such as a large crack or hole.
How to Patch A Plastic Kayak?
Now that you know the different patching methods, here’s a step-by-step process for patching your plastic kayak using each method:
Cold Welding
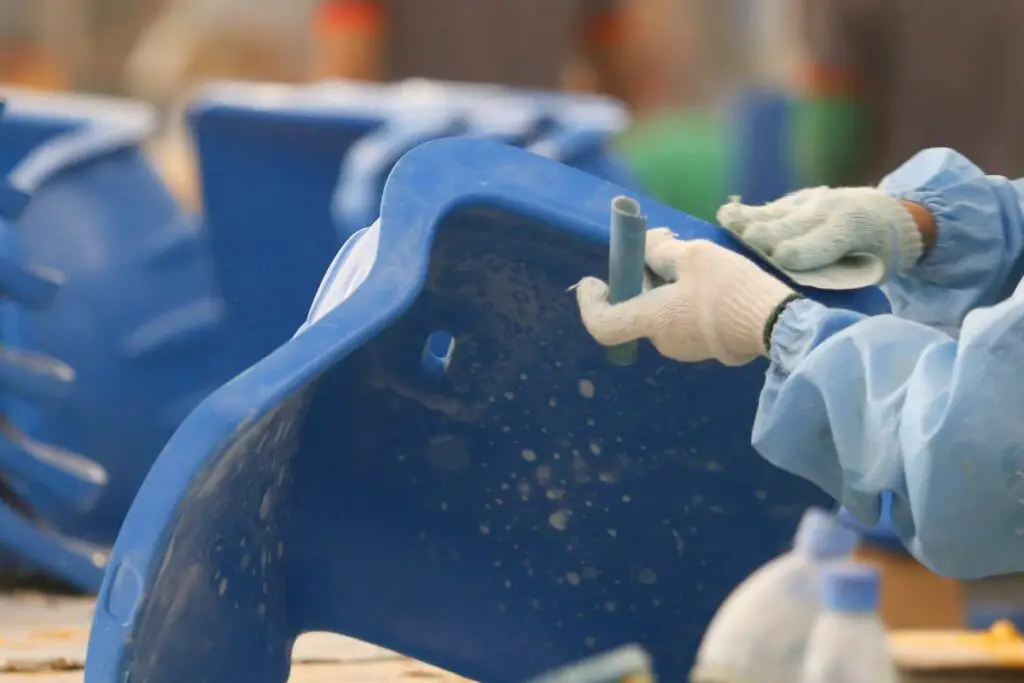
- Step 1: Clean the damaged area of the kayak thoroughly, then use sandpaper or an abrasive pad to rough up the surface to help the adhesive bond more effectively.
- Step 2: Cut a piece of plastic sheet to the appropriate size to cover the damaged area.
- Step 3: Use a paintbrush or applicator to apply a thin layer of plastic adhesive to the damaged area, then place the patch material over it. Repeat the process until the damaged area is covered and the repair is complete.
- Step 4: Press down on the patch material and smooth out any air bubbles or wrinkles.
- Step 5: Allow the repair to cure and harden completely.
Hot Air Welding
- Step 1: Clean the damaged area of the kayak thoroughly.
- Step 2: Cut a piece of a welding rod or a plastic sheet to the appropriate size to cover the damaged area.
- Step 3: Use a hot air welding gun to heat the patch material and the damaged area of the kayak until they start to melt.
- Step 4: Press the melted end of the patch material onto the damaged area and use the welding gun to melt it further until it fuses with the plastic of the kayak.
- Step 5: Allow the repair to cool and harden completely.
Heat Gun
- Step 1: Clean the damaged area of the kayak thoroughly.
- Step 2: Use a heat gun to heat the plastic around the damaged area until it becomes pliable.
- Step 3: Use a tool to press the heated plastic back into place, creating a seal over the damaged area.
- Step 4: Allow the repair to cool and harden completely.
Epoxy
- Step 1: Clean the damaged area of the kayak thoroughly.
- Step 2: Mix the two-part epoxy according to the manufacturer’s instructions.
- Step 3: Apply the mixed epoxy to the damaged area, filling in any cracks or holes.
- Step 4: Allow the epoxy to dry and harden completely.
- Step 5: Sand down the repair to create a smooth surface.
PVC or Hypalon Patches
- Step 1: Clean the damaged area of the kayak thoroughly.
- Step 2: Cut a piece of PVC or Hypalon patch material to the appropriate size.
- Step 3: Apply a layer of adhesive to the patch and the damaged area of the kayak.
- Step 4: Press the patch onto the damaged area and hold it in place until the adhesive sets.
- Step 5: Allow the repair to dry and harden completely.
Note: The specific steps may vary depending on the patching material and method being used. It’s important to follow the manufacturer’s instructions and safety guidelines when using any patching material or method.
When Is It Better to Replace a Damaged Kayak?
While it’s possible to patch a damaged kayak, there are some situations where it may be better to replace the kayak entirely:
- Extensive Damage: If the kayak has sustained extensive damage, such as a large hole or crack, it may not be possible to repair it effectively.
- Structural Damage: If the damage has affected the kayak’s structural integrity, such as a bent or broken frame, it may be safer to replace the kayak rather than risk further damage or injury.
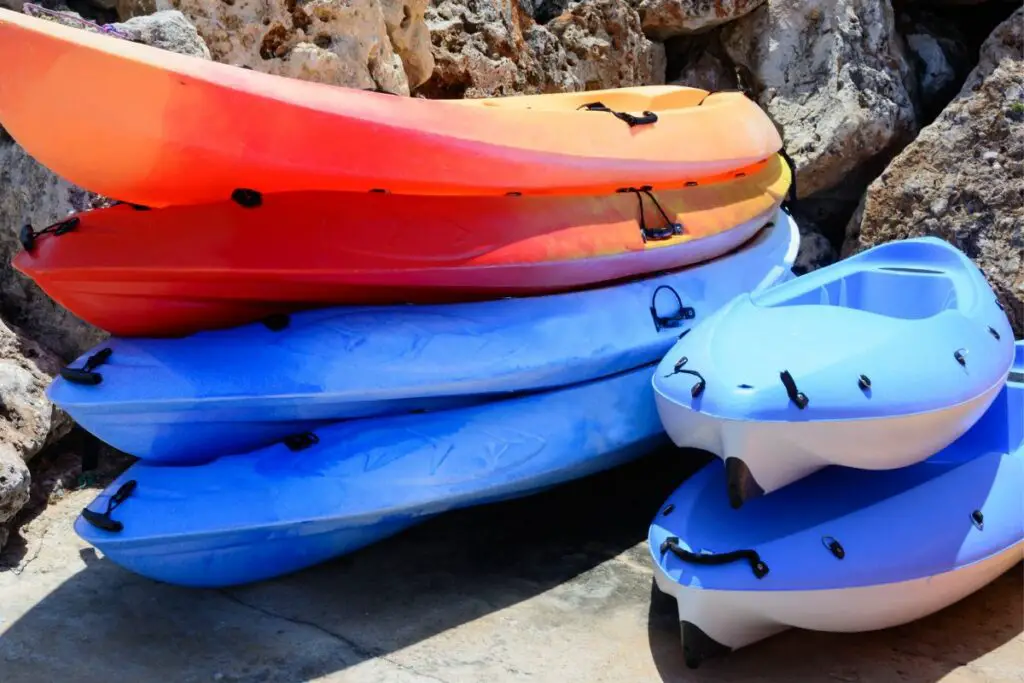
- Age and Wear: If the kayak is old or has undergone significant wear and tear, it may be better to replace it rather than continue to repair it as the likelihood of further damage increases.
- Cost of Repair: If the cost of repairing the kayak exceeds the cost of a replacement, it may be more cost-effective to purchase a new kayak.
In general, it’s important to assess the extent and nature of the damage to determine whether repair or replacement is the best option. If in doubt, seek the advice of a professional or experienced kayaker.
How Long Do Plastic Kayaks Typically Last?
Generally speaking, a well-maintained plastic kayak can last for many years, with an average lifespan of around 10-15 years.
However, it’s important to note that the lifespan of a plastic kayak can vary depending on several factors, such as the quality of the manufacturing, how often it is used, how it is stored and maintained, and the type of water it is used in.
Tips to Make Your Plastic Kayak Last Longer
Here are some tips to help extend the lifespan of your plastic kayak:
- Store your kayak properly: Store your kayak out of direct sunlight and in a cool, dry place. UV rays can damage plastic and cause it to degrade over time.
- Avoid dragging your kayak: Dragging your kayak across rough surfaces can cause scratches and abrasions that can weaken the plastic.
- Rinse your kayak after use: Saltwater, sand, and other debris can damage the plastic over time, so it’s important to rinse your kayak with fresh water after use.
- Avoid using harsh chemicals: Harsh chemicals like bleach or solvents can damage the plastic, so it’s important to use only mild detergents and cleaning agents.
- Patch up any damage: If you do notice any damage to your kayak, be sure to patch it up as soon as possible to prevent further damage.
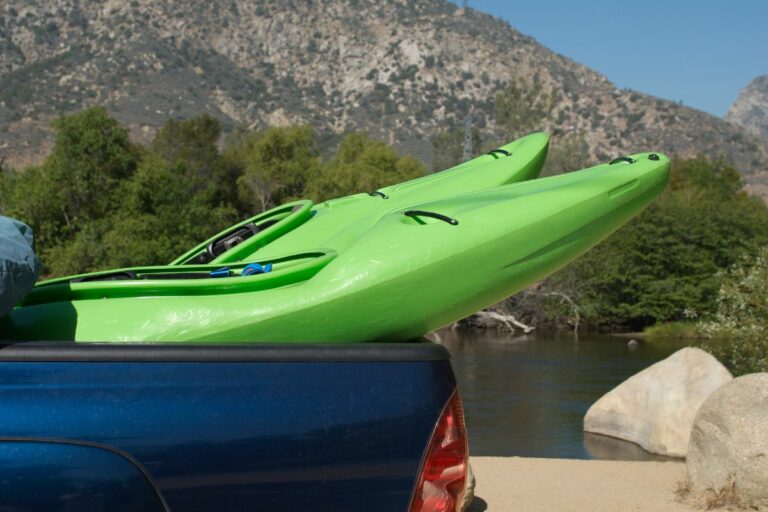
- Properly transport your kayak: When transporting your kayak, use proper roof racks or kayak trailers to avoid damage during transit.
- Avoid overloading your kayak: Overloading your kayak can cause stress on the plastic and affect its structural integrity.
By following these tips and properly maintaining your plastic kayak, you can help extend its lifespan and enjoy many more years of kayaking adventures.
Kayak your way to Freedom
- On a budget? Check out the best fishing kayaks under $500 here and the best Fishing Kayaks under $1,000 here. Or Check the best Cheap Kayaks here.
- Going fishing? Here are the best Ocean fishing kayaks, and here are the best River Fishing Kayaks.
- You can also find the best Fly Fishing Kayaks here and the best Bass Fishing Boats here.
- A bit experienced? Check out the best modular kayaks here and the best tandem fishing kayaks here.
- Looking for something special? Check out my favorite Ducky kayaks here.
- Navigate your way with these awesome and beginner-friendly Kayak compasses.
- Going Hunting? These Duck hunting kayaks will give you an unfair advantage!
- Have a need for speed? These motorized kayaks will get you moving.
- Protect yourself from the sun with these Kayak shades, and make your kayak more comfortable with these Kayak seats.
- Keep your feet dry and warm with these superb Kayaking shoes.
- Going Kayaking in cold water? Stay warm with these Kayaking gloves.
- Paddle Less, Fish More with the Best Kayak Motors
- Looking to get a trolling motor on your kayak? Check out the best kayak trolling motor mounts here.
If you like this article, please share it or pin it, you can find the share buttons below. We will really appreciate it ❤️