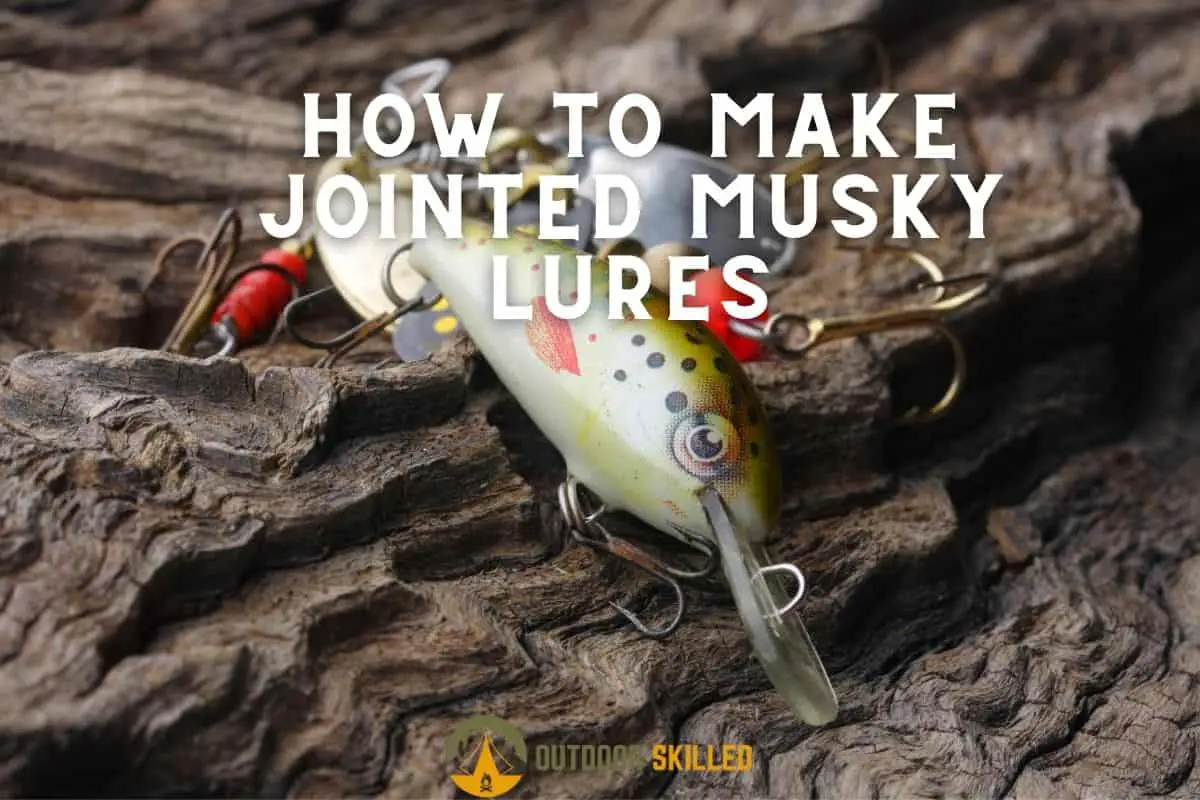
13 Steps to Make Jointed Lures for Muskies – A Guide for Beginners
Musky anglers prefer jointed lures for various reasons; jointed lures give out this realistic “vibe” to muskies as their lateral line can detect the lure passing through the water. They also have a life-like movement that increases the visual appeal and makes it more enticing for muskies to chase them.
So many of muskies hard-core fans dug in how to make a jointed lure instead of buying them, whether it’s because they want to save a couple of bucks or because they genuinely enjoy having a customized effective bait of their own crafting. Do you want to give it a shot?
So how do you make jointed lures for muskies? To make jointed lures for muskies, you need softwoods like balsa, pine, or cedar. You’ll need wood cutting tools, tape measure, sharpies, sandpaper, wood sealant, a vise, eyelets, split rings, treble hooks, paint, and brushes.
Keep reading to have your beginners’ guide to making jointed lures that would appeal to your next trophy musky!
Table of Contents
What you Need to Make Jointed Lures

First off, you need to choose the wood you’ll be using. I recommend using soft light-weight wood like balsa, pine, cedar, or white cedar, they have fast action and are easy to carve and jig. These minds of wood float naturally on the surface, so you’ll need no additional expensive materials to make it float.
Then you’ll need cutting tools such as a power drill, drill bits, a coping saw, a roofing knife, and a knife for whittling. These tools ensure precise cutting and they’re easy to use to shape your wooden lure.
You’ll need additional tools like a tape measure to determine the size and length of your lure, sharpies in both fine and wide tips and small paintbrushes for the final artistic touch, sandpaper to refine the edges of your wooden lure, a waterproof glue, and a vise to firmly grip your piece while working on it.
Your material should include the polyacrylic wood sealant to varnish your piece of wood and make it waterproof, small eyelets, treble hooks, split rings of a size that fit the hooks, and lastly, paint and googly eyes for the final touches.
I’ve my recommended tools in the post on how to make wooden musky lures here, so make sure to check it out.
13 Steps to Make Jointed Lures
Making a jointed lure for muskies is not a complicated process if you got both your equipment and method right. So, how can you start doing your own customized jointed lure? Here’s a simple 13-step-guide on how to make them:
- Draw a rough shape with a pencil on the piece of wood of any size you like. Measure the wood piece using the tape measure and remember that to catch a big musky you’ll need a big bait. But, if you’re going for average-sized muskies, a 3-to-4 inch(about 7.5-to-10 cm) bait will be fine.
- Cut around the rough shape evenly using a knife.
- Use the sandpaper to smooth the piece of wood, especially around the edges.
- Mark about a quarter of the piece’s total length, the mark should be done from the front of the piece. That’s where your joint is going to be.
- Neatly cut through your joint mark, then do more sanding on the edges.
- Mark the center of each piece after cutting and drill a hole.
- Install an opened eyelet in each piece after drilling a proper hole for it.
- Hook the two eyelets together and clamp them shut with pliers.
- Drill two small holes on the top to fit the googly eyes. Then glue the eyes with a waterproof superglue. This will bring some life to your topwater and make it more realistic.
- Choose a pattern of your liking and imitate it using paint and sharpies. You can pick any color you want, but brighter colors are more recommended. Make sure to draw fish stripes with your sharpie to imitate a crankbait, muskies love those.
- Dip your lure in polyacrylic after stirring it well first. You can tie your wooden piece with a line using the eyelet to be able to dip it more easily. Let the first coat dry for 2 minutes then repeat. Three coats will ensure a smooth, sealed, and waterproof wooden topwater lure. Let the wooden piece dry for at least 24 hours before adding the final touches.
- Add another two screw eyelets, one under its belly, and the other one on the rear.
- Attach a split ring of suitable size between a treble hook and the screw eyelet.
See? I wasn’t bluffing when I told you it was an easy and, frankly, fun thing to do while you’re waiting to get on the fishing boat again soon.
Want a more visual guide? Check out the video below:
5 Pro Tips for Making Jointed Lures
- Add a rattle to the “broken” end of your lure. This part tends to move very quickly in the water, and adding a rattle to it will make it noisier. It’s true that muskies are sight feeders that chase a fish when they see it, but adding some noise can be intriguing to them.
- Bright colors catch the attention of muskies. Go for red, yellow, orange, and bright green for better results.
- If you are fishing on a rainy day, it’s important to dry your lure on a paper towel before putting it in the box. The air will dry it and it won’t find rust in the box.
- If you can afford it, I would recommend getting a lathe for quicker crafting. A lathe will help you to shape your wood pieces faster and more efficiently.
- Add a large nail if the lure seems too light. Drill a hole in the middle that can fit your nail.
Related Questions
How to Cut a Segmented Jointed Lure?
To cut a segmented joint lure is to partially cut the joint before cutting out the lure shape. Cut a 45-degree angle partway through each side of a block, and then cut out your shape and start carving. After finishing the carving, go back and finish the cuts.
How to Paint Segmented Musky Lures?
To paint segmented musky lures you’ll need any paint from acrylic, lacquer, or latex-based paints. Pick your favorite pattern and imitate it with small paint brushes and sharpies. After you finish, seal the piece of wood with polyacrylic sealant with 2 or 3 coats.
What is the Best Swimbait Hinge Style?
The best swimbait hinge style is hand twisted interlocked screw eyes. They are strong, easy to install and use. This style can be customized as to wire diameter, size of the googly eyes, and length of the screw.
Helpful Resources
Making Homemade Fishing Lures for Bass
If you like this article, please share it or pin it, you can find the share buttons below. We will really appreciate it ❤️


![Why Do Muskies Swim With Their Head Out of the Water? [Simply Explained]](https://outdoorskilled.com/wp-content/uploads/2021/10/Muskie-swimming-with-the-head-above-water-768x512.jpg)